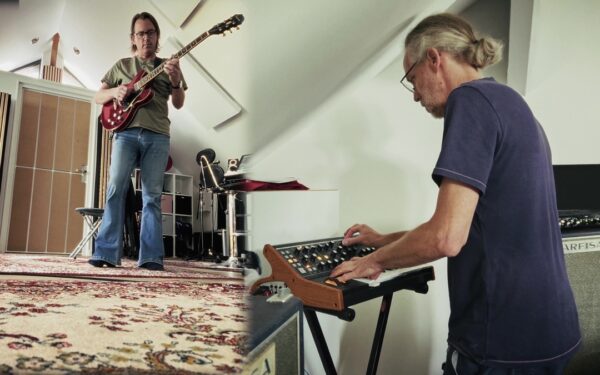
Recording Studio Build #4 – Sound Proofing The Floor

Now that the ceiling and walls have been properly sound proofed, let’s have a look at the floor, usually a critical part in a music studio.
Because there is no one else in the “building”, and to minimize the cost and weight (I don’t think the structure would have been able to accommodate a fully floating floor), the floor of the studio is a semi-floating floor, mainly sound-proofed from below.
The studio being under the roof, this also helps keeping as much height as possible in the room.
From Below
Starting from below, I have used wood wool (200mm), and two interleaved layers of OSB to close the ceiling below (airtight).
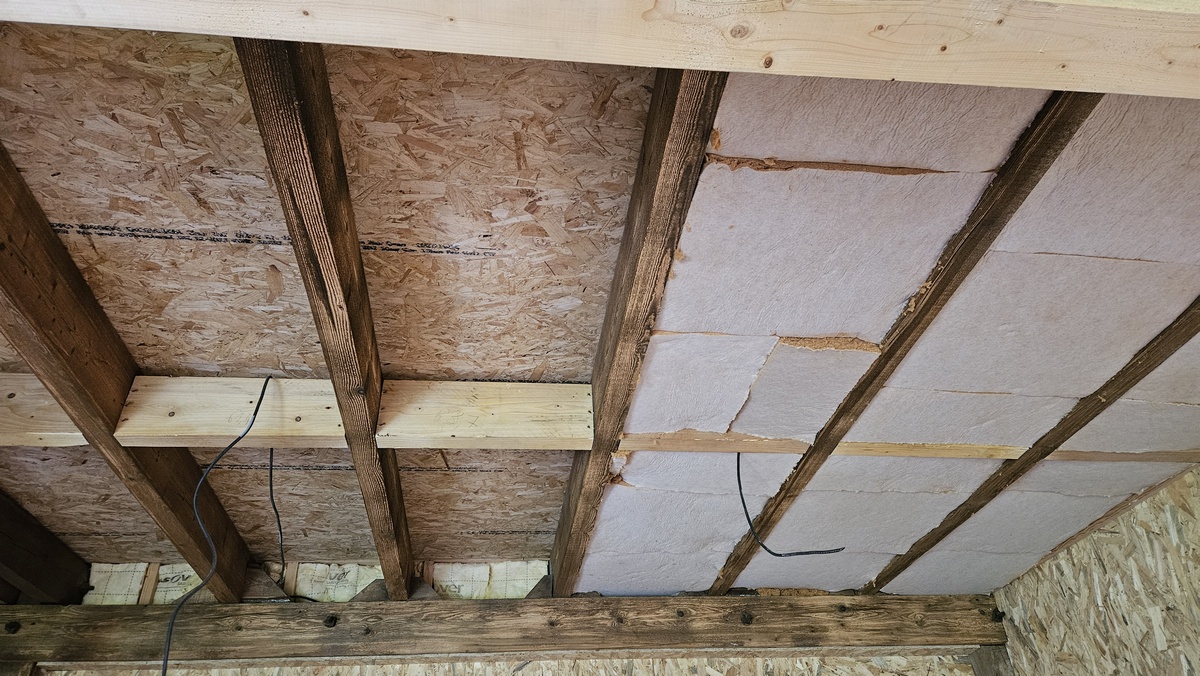
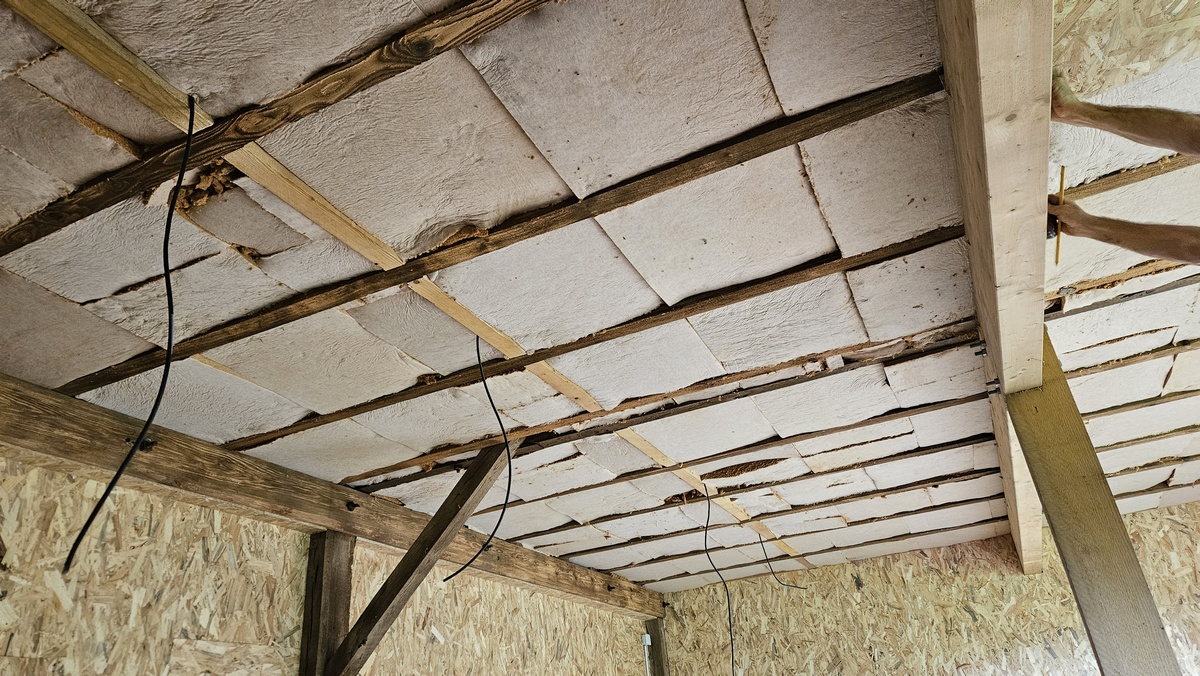


In the end I believe I could have made it even better (although not strictly necessary, unless the drummer is really hitting hard): typically using plasterboard instead of OSB (much more rigid), and making the ceiling independent from the structure.
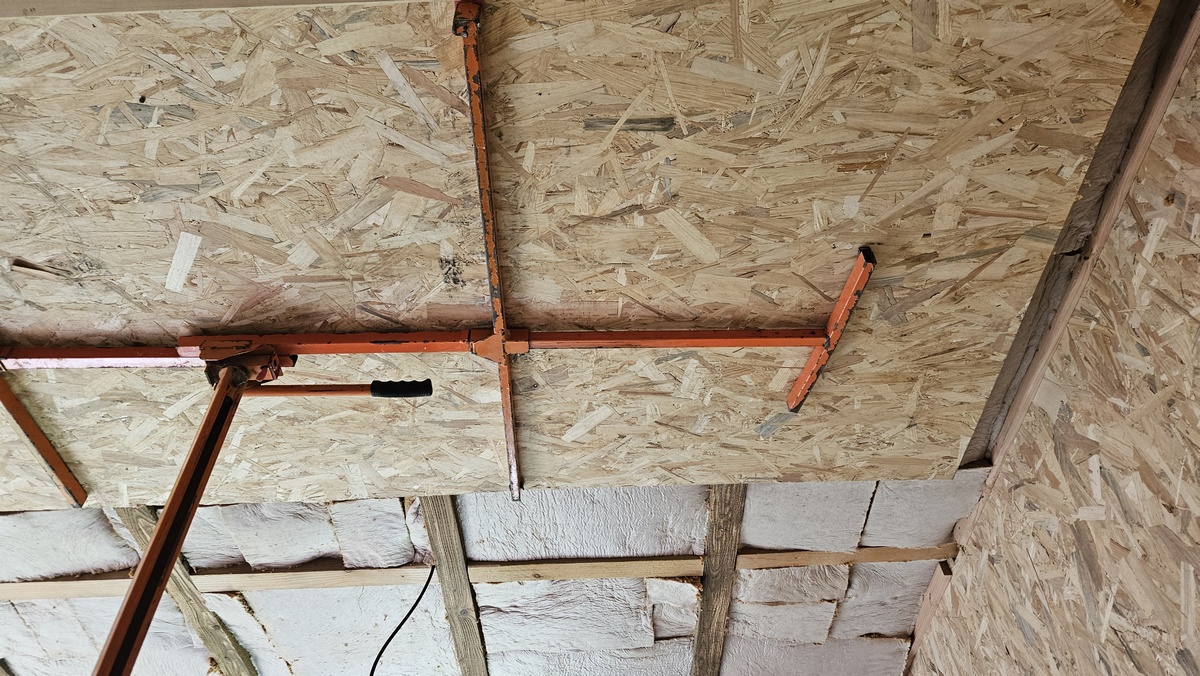
The Floor: Mass
Second step: adding mass and thickness to the floor, with two layers of thick OSB (2.2mm) with felt in between.


Extra Concrete…
This was not initially planned, but since the floor is not completely horizontal, we had to add an extra layer of concrete to compensate before adding the last layer. That’s more mass, so I won’t complain!


Also it os exactly at the position of the future drumkit and bass amp… What’s not to like to have extra mass there? 🙂
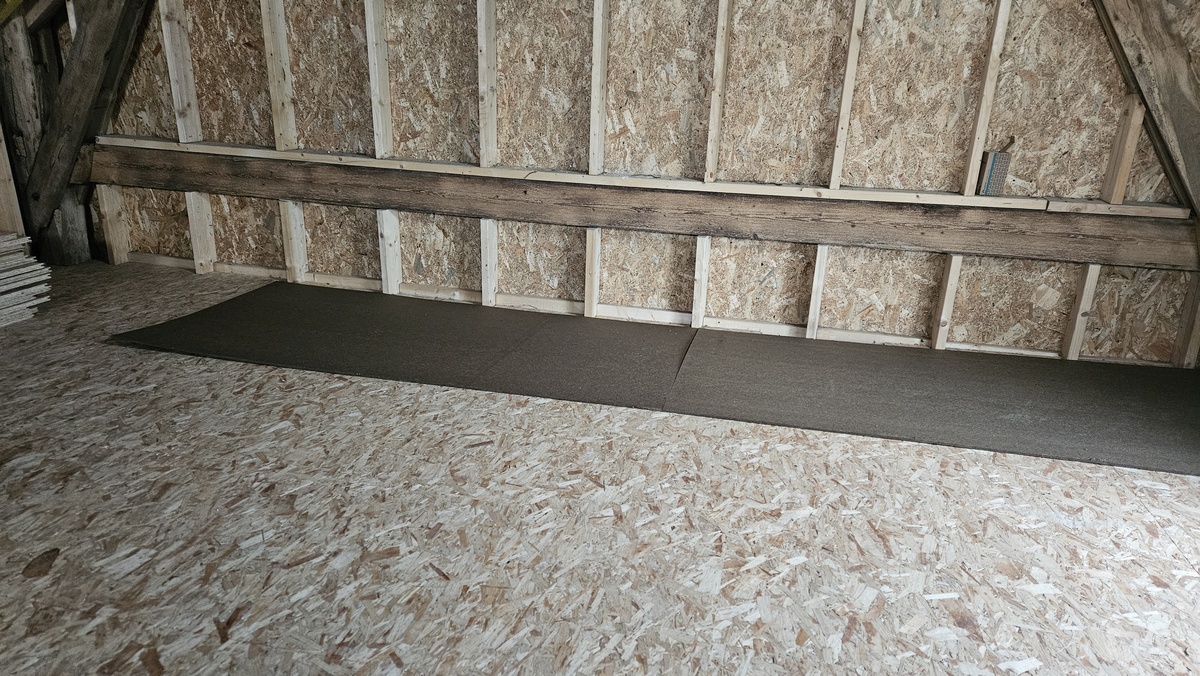
Semi Floating Floor: Insulation Layer & Parquet
At this stage, vibrations and sound from the room still propagate pretty well into the structure thru the floor (which is expected). The felt layer is indeed not very flexible and mainly helps with impact noise only.
So the idea to improve this is to add a thick floating wood parquet (2.4mm) on top of very thick and heavy layer of rubber (10 mm). This adds quite a bit of mass to the floor globally (believe me, that’s a LOT of mass to carry into the studio), and the upper parquet floor is fully decoupled from the structure below, with enough mass not to vibrate too much from sound waves coming from the room.


Since even more mass will be added with the gear and carpets on top of the floating parquet, the whole thing should not vibrate that much anymore.


And that’s it for the floor! Next time we’ll have a look at the studio door and how to make it sound proof.