
Studio Build #5: The Studio Door(s) & Windows
In a music studio, openings are usually the weak point, so let’s take a look at them!
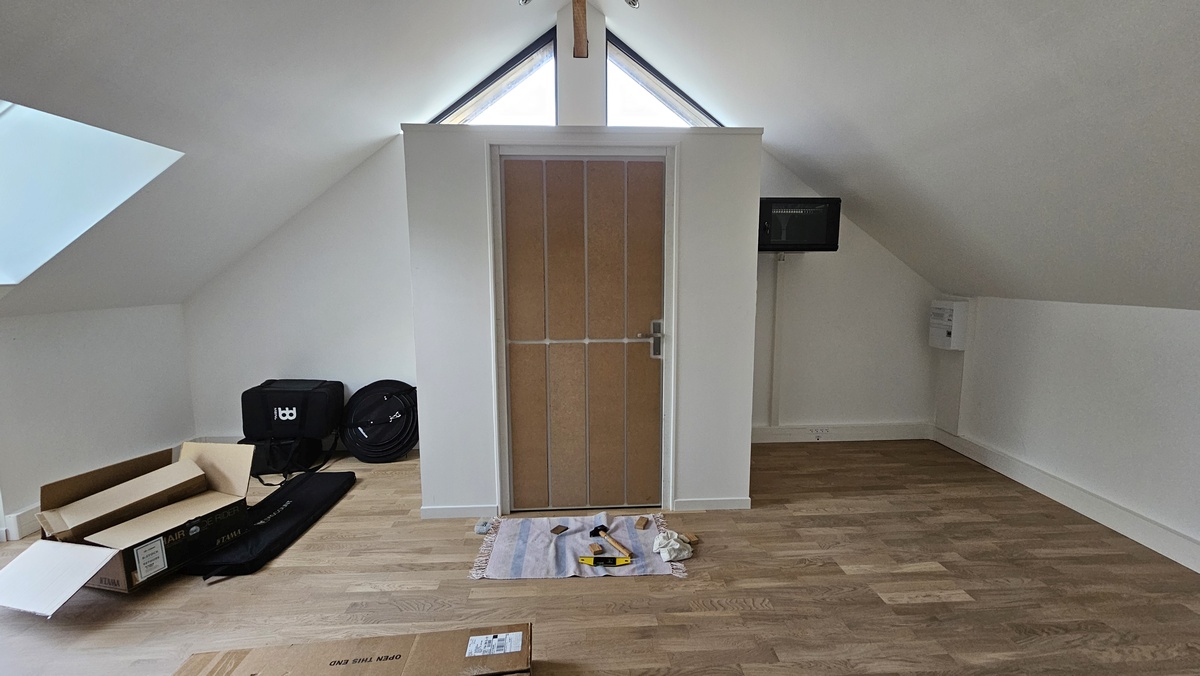
With a drum kit in the house, there is no choice but build a double door if you don’t want the sound to go thru the studio door. It’s too bad to spend that much time soundproofing your walls if you do not take care of the openings (which are a major source for leaks).
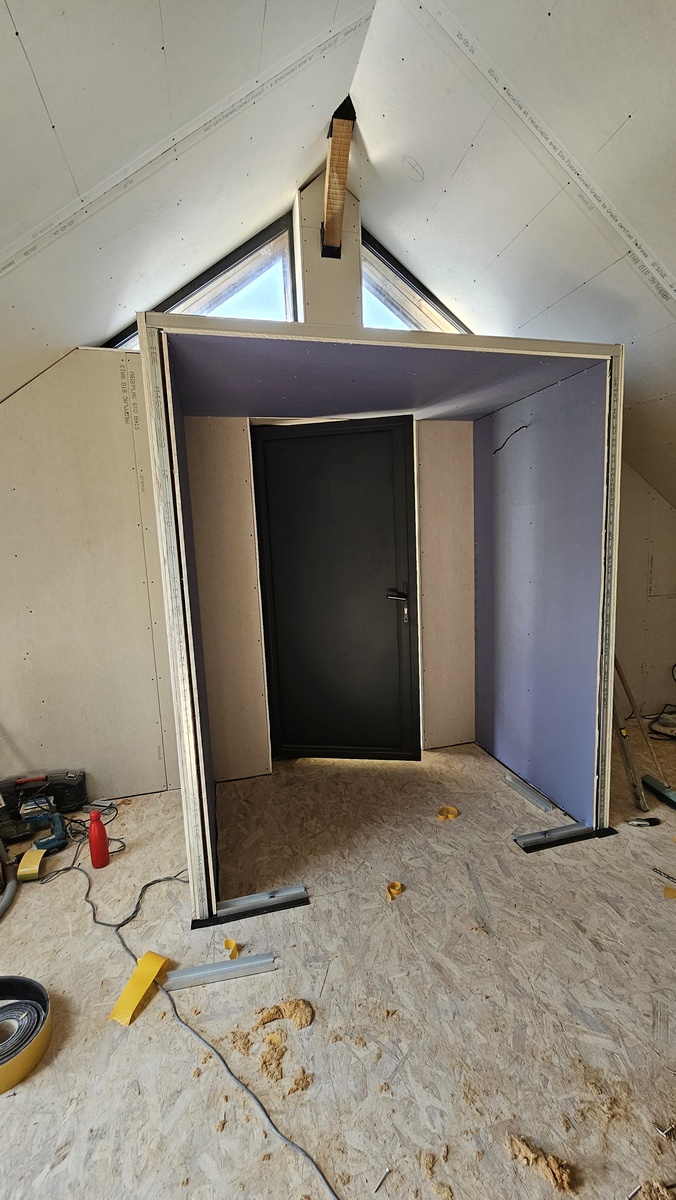
So I designed an airlock mini-room for the entrance to the studio. The outside door is a pretty heavy sealed aluminum door, which is not too bad, but definitely leaks a lot of bass. The inside door is what they call an “acoustic” door… The only difference with a regular cheap door is that it has extra rubber door seals, but that’s not very efficient for anything else than high frequencies. The walls are single layer and soundproofed with wood wool like the other walls of the studio.
All in all, even with the double door, it was still leaking too much to my taste, mainly from the doors themselves, which were vibrating a lot when playing bass guitar or with the kick drum. This was especially true for the inside door, which is definitely too lightweight. I had no other choice than making these heavier and make them absorb more than they transmit sound!
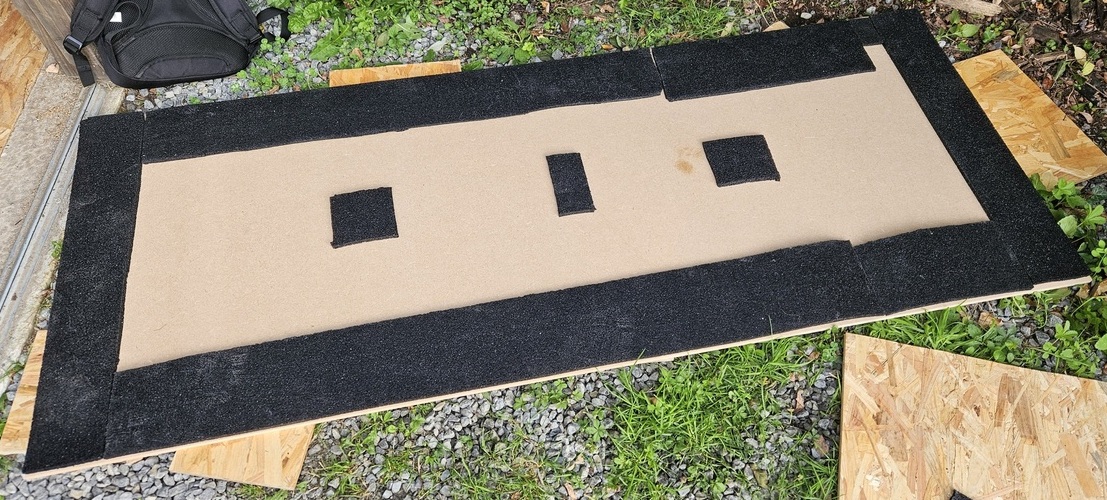
I had spare rubber from the floor, so it was a good opportunity to recycle this extra into the doors.
Inside Door
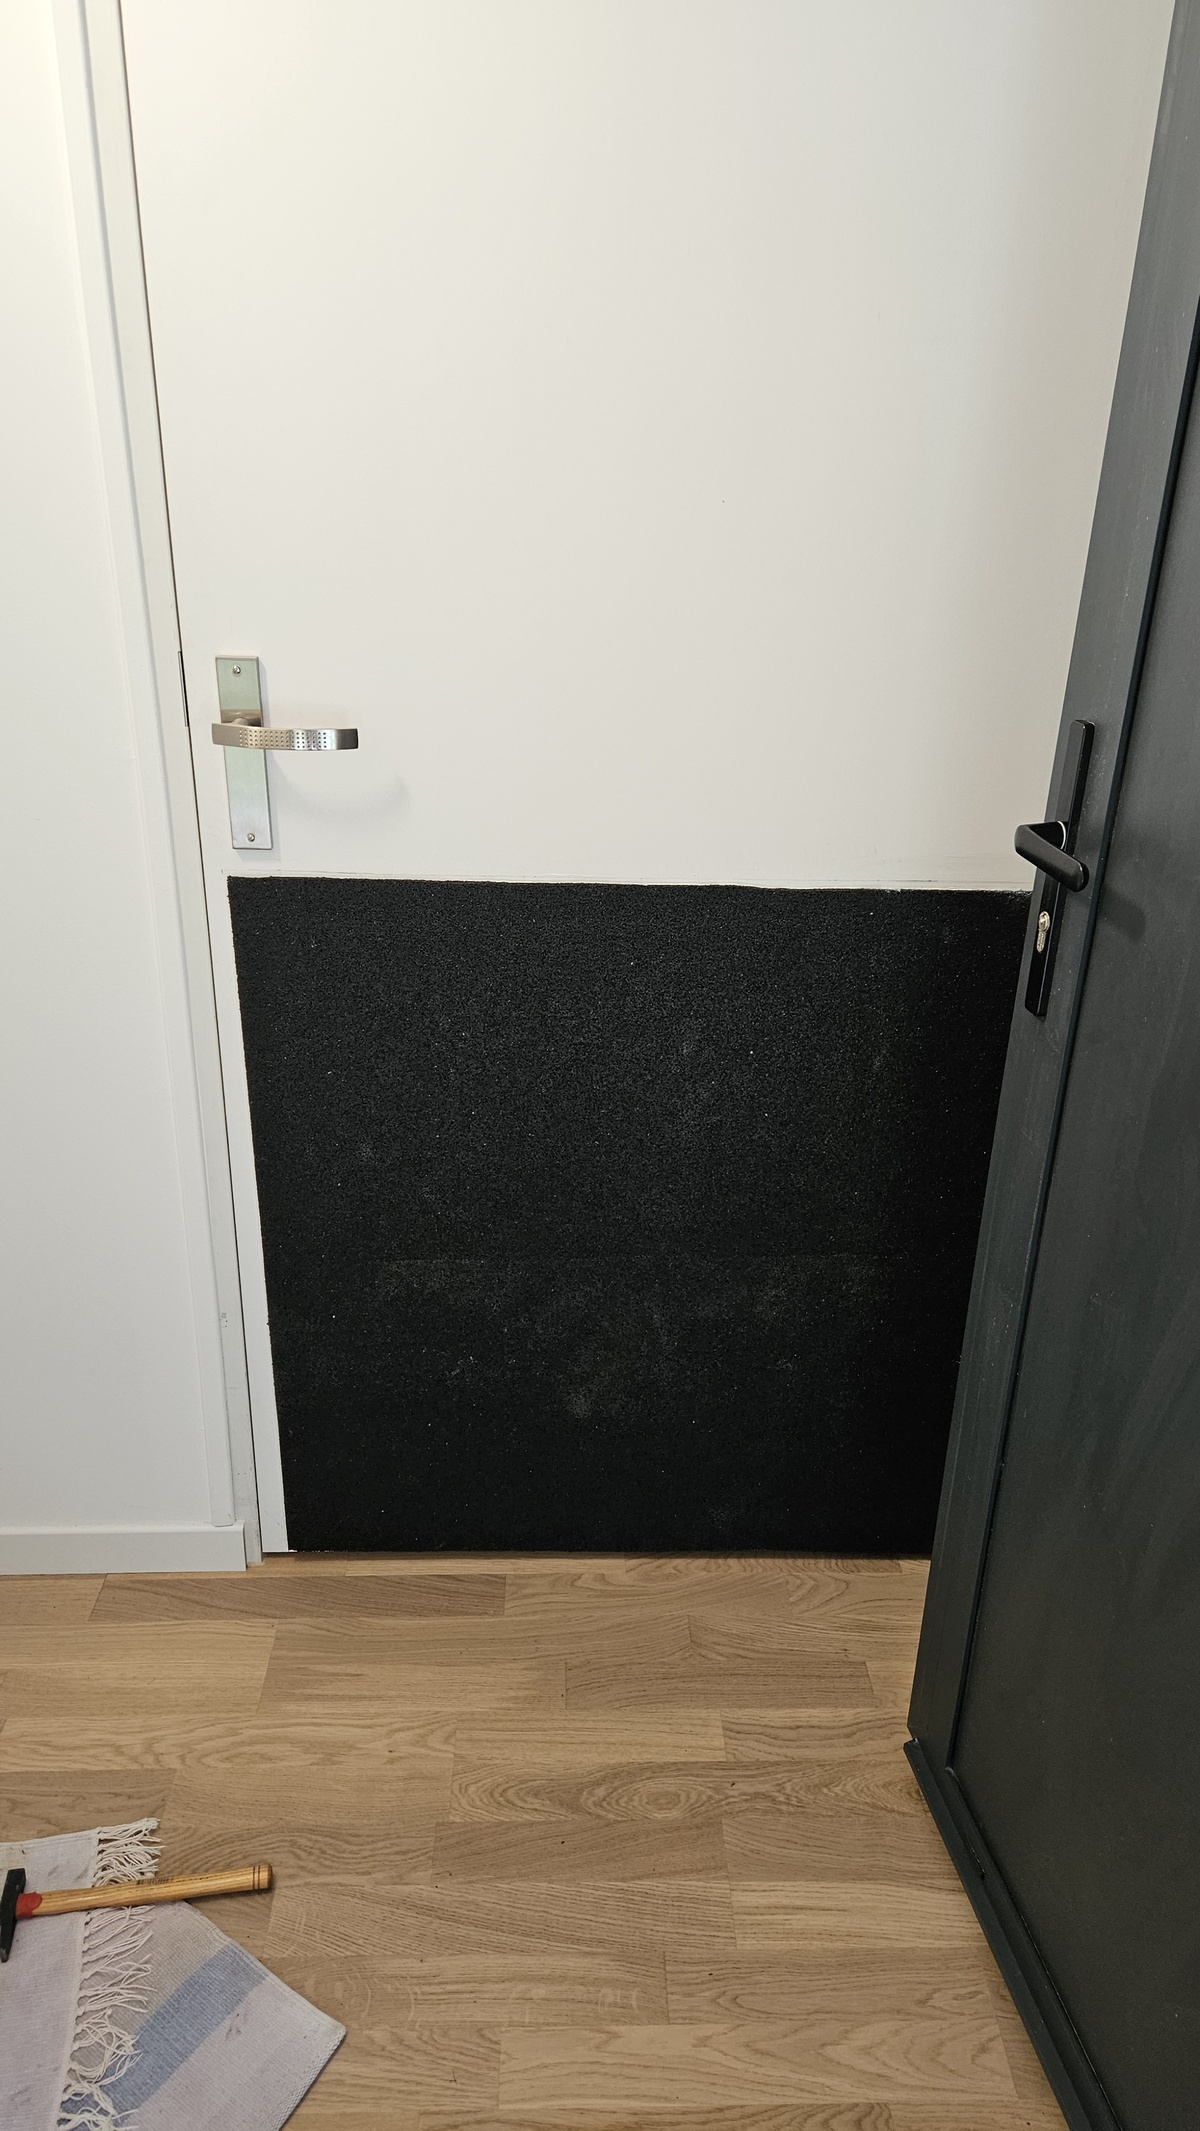
For the inside door I glued rubber on the external face, and covered it with thick fabric (raw rubber is pretty ugly, and this adds weight and absorption anyway).
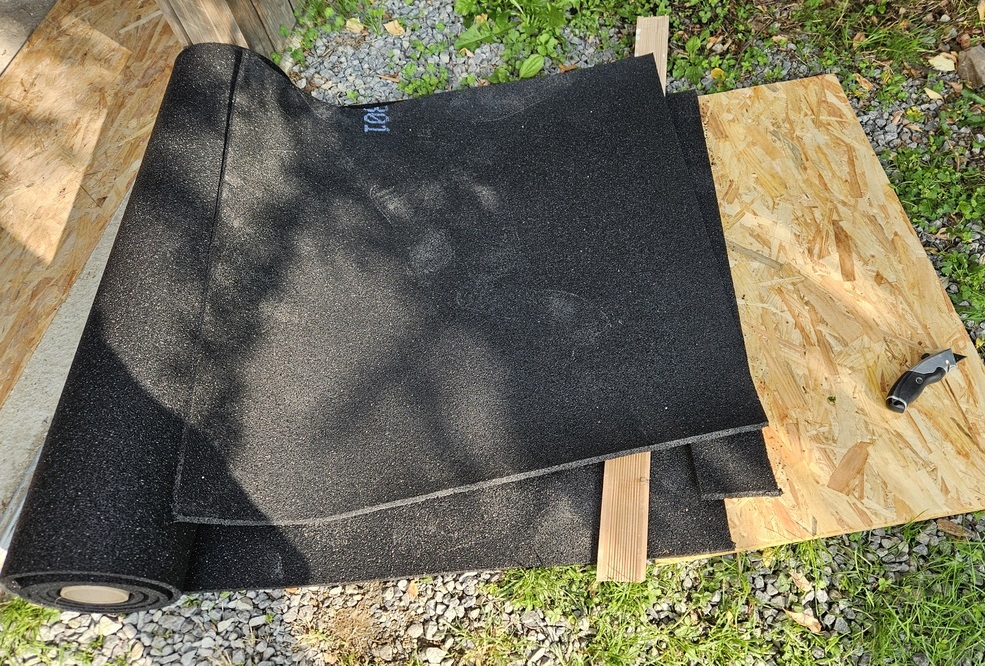
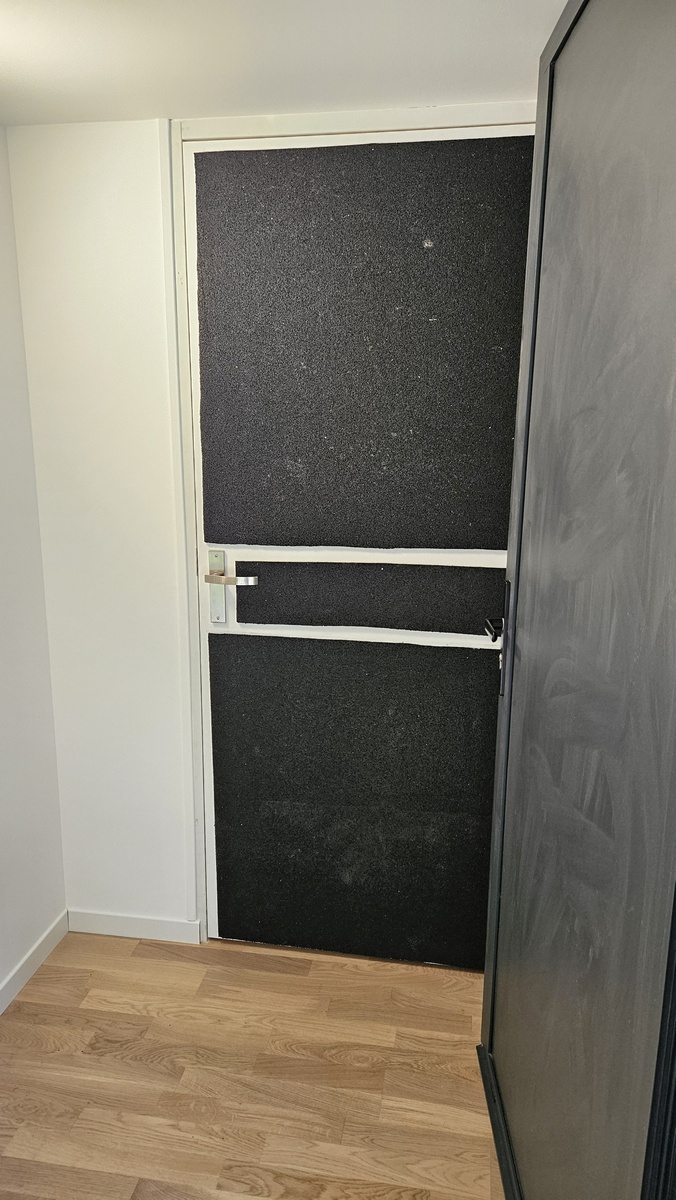
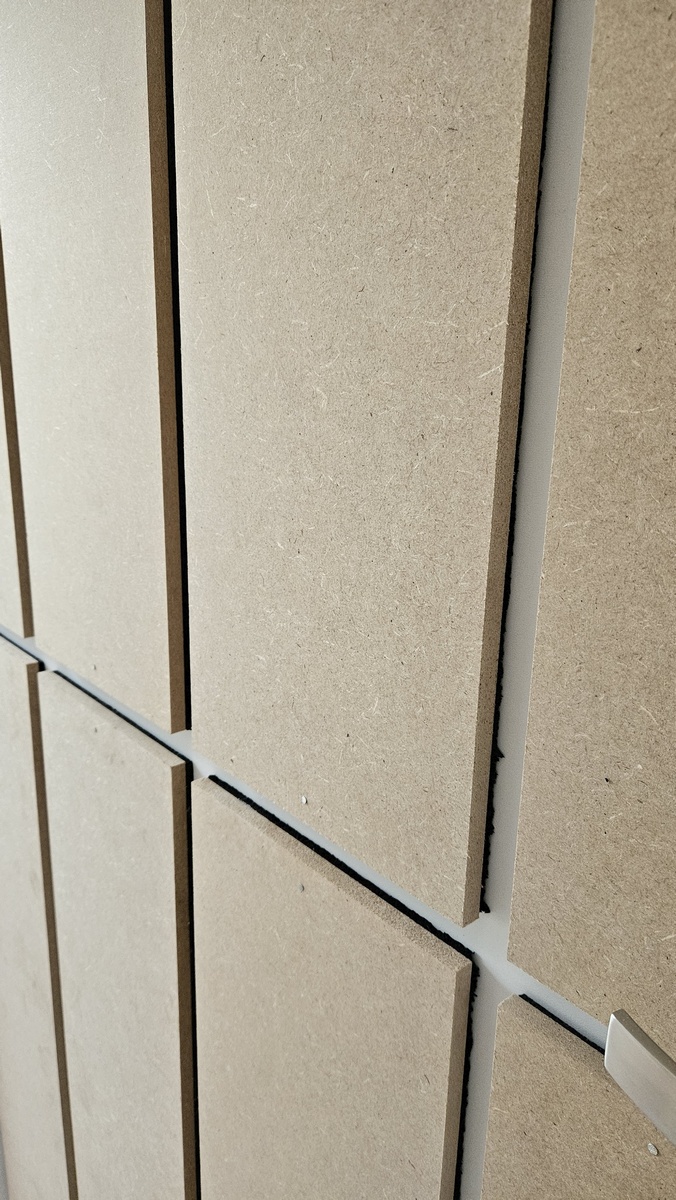
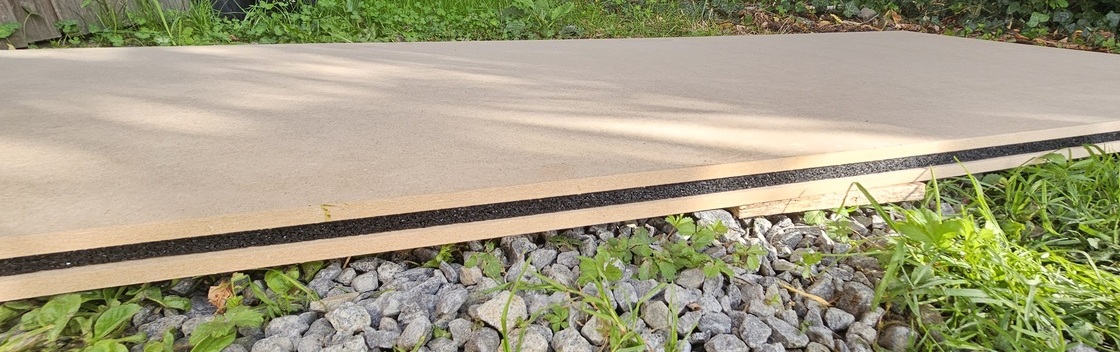
On the other side, I chose to build a sandwich with wood and thinner rubber, in several pieces. It both adds weight and rigidity (the wood in the door is really thin). It also lets you have a nicer design for the inside of the studio, and maybe do a bit of diffusion in the room. Anyway it was all glued onto the door with a few nails to keep it in place while the glue dries out.
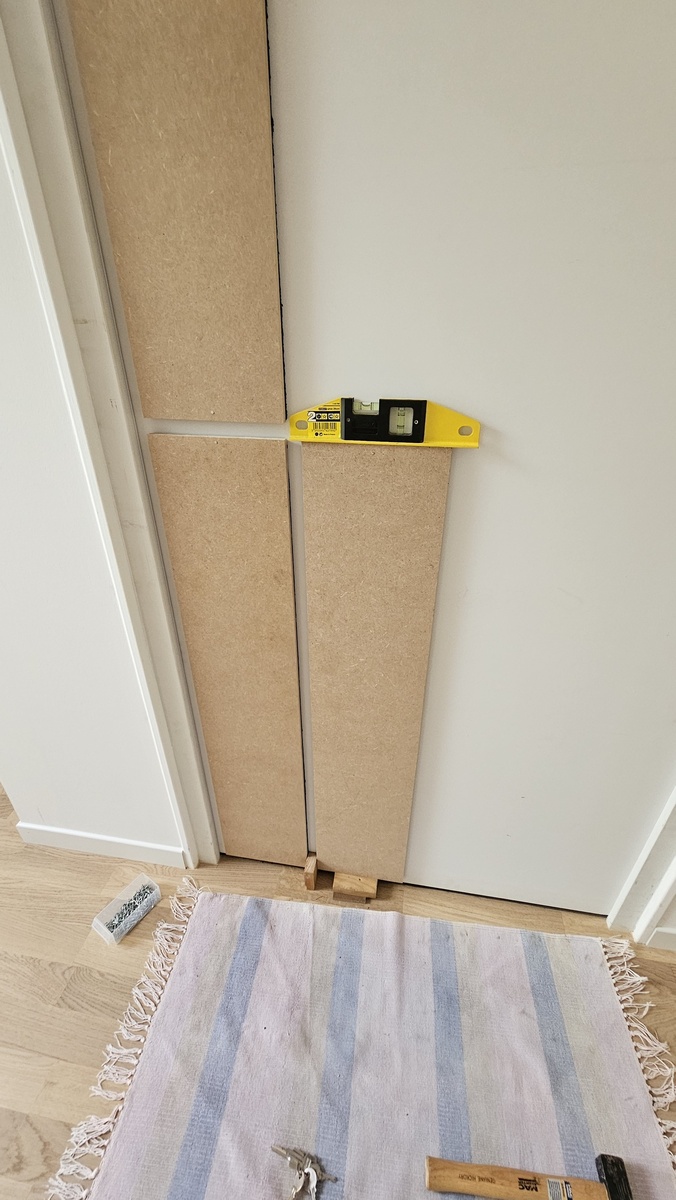
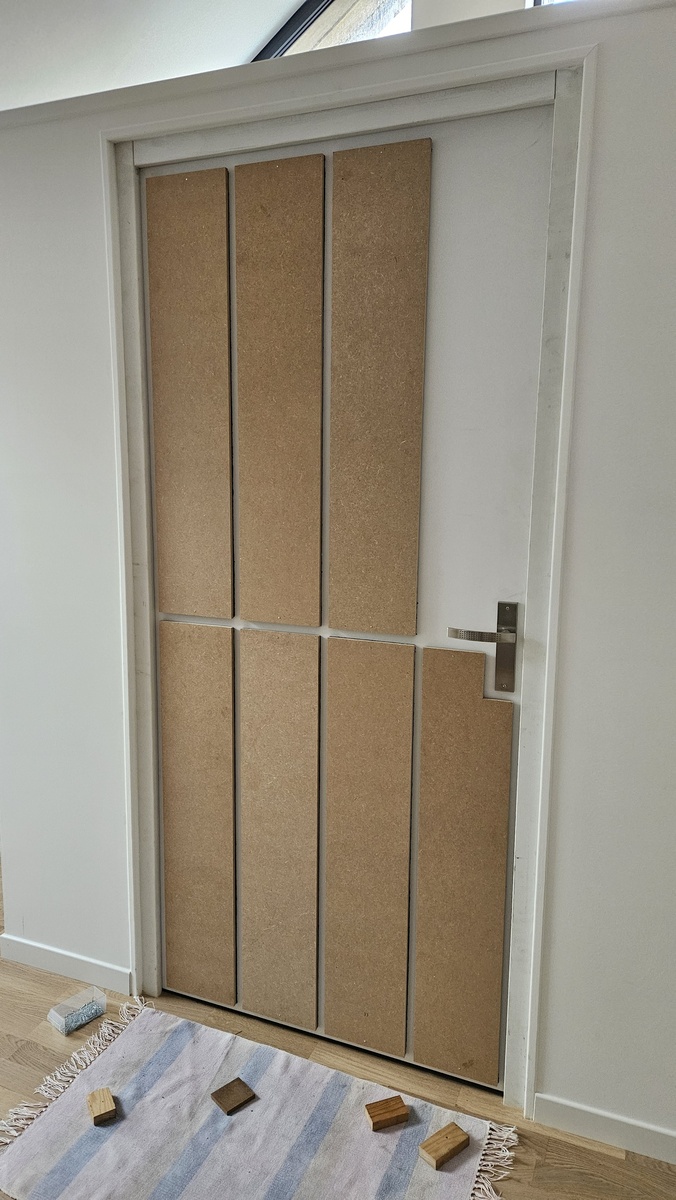
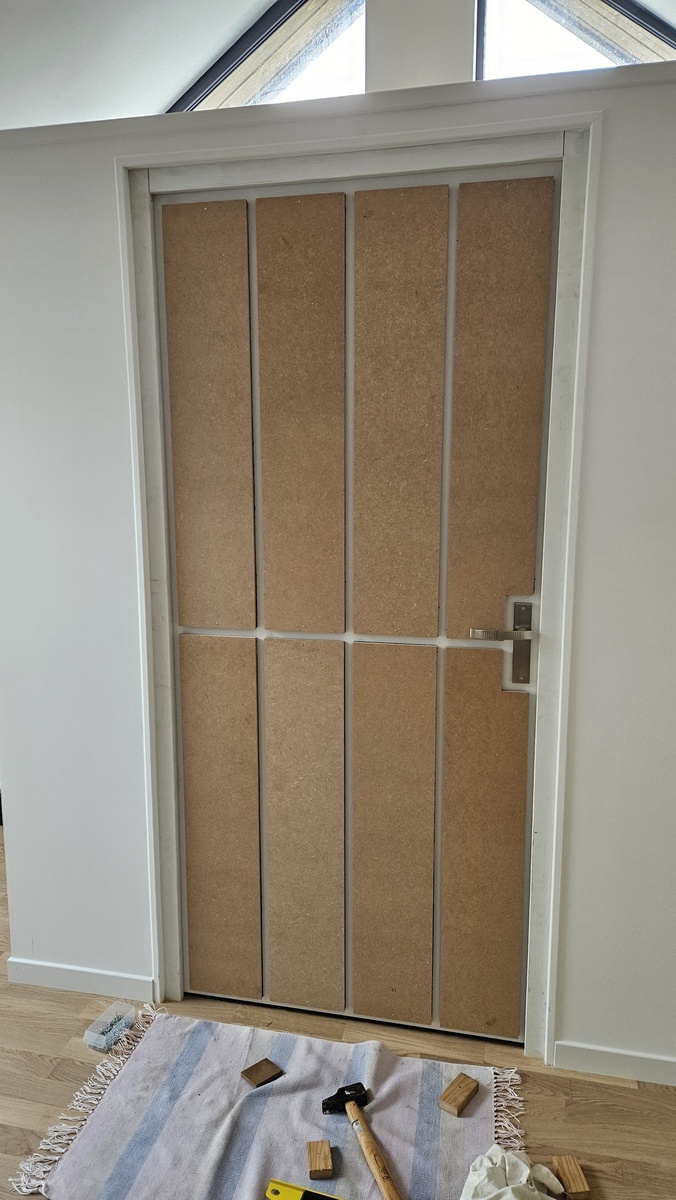
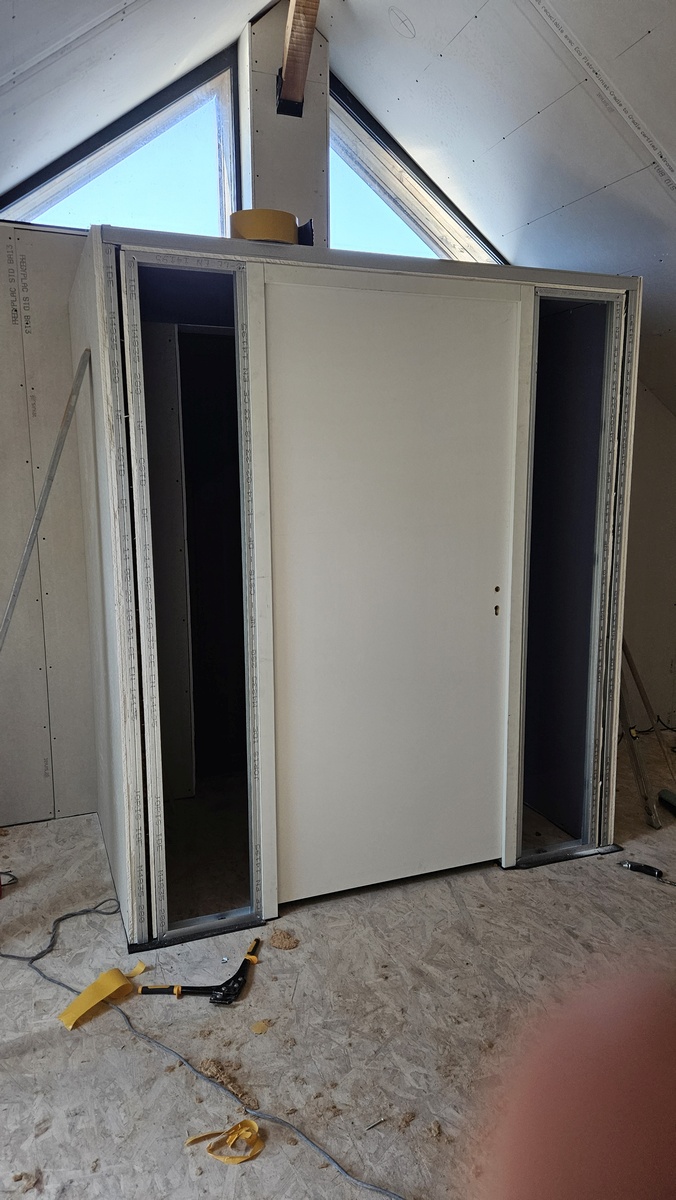
By the way I have glued these extra materials after the door was in place, vertically. It is a bit of a pain to get right because of gravity, but it is much easier than having to place such a heavy door back onto its hinges!
With these extra materials on the door, the attenuation is much better. It’s incredible how much of a difference it makes! However it was still leaking outside, so the outside door should be made heavier and more rigid too!
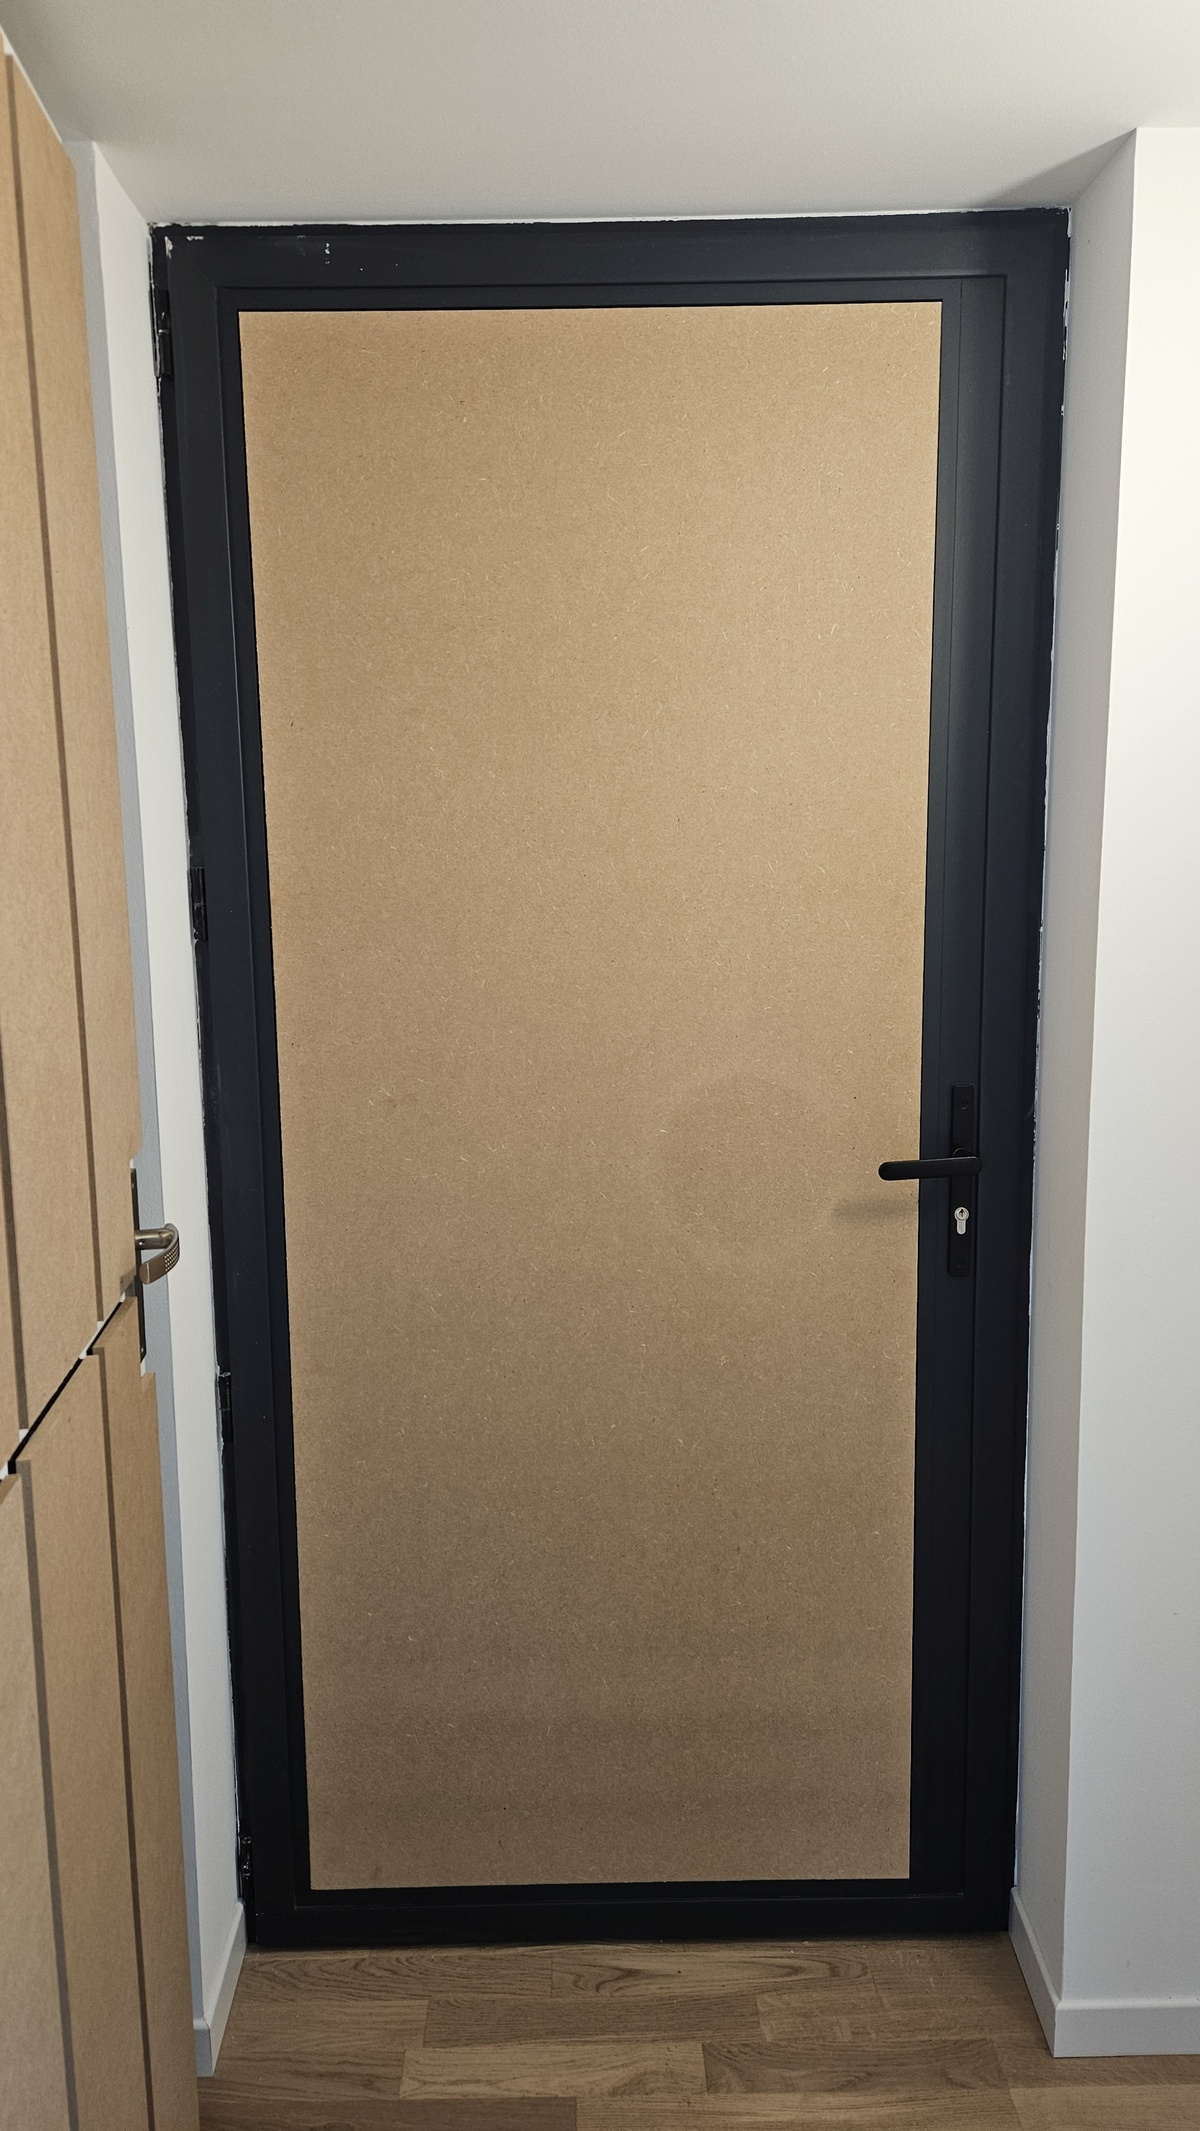
Outside Door
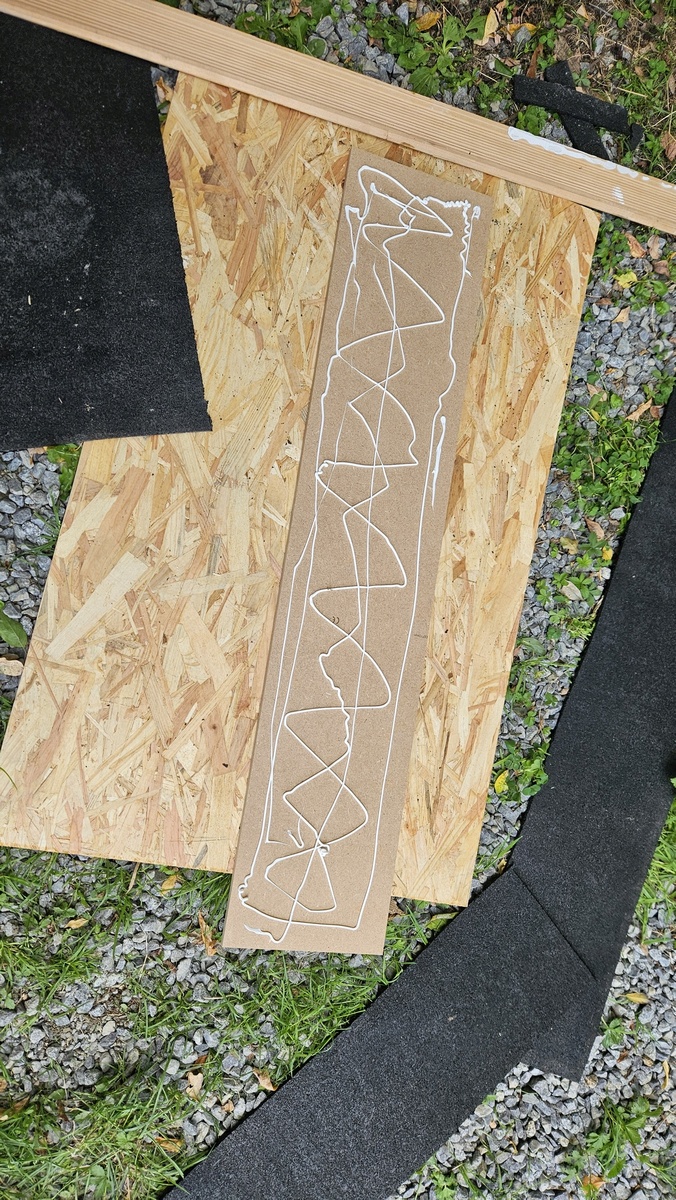
Here again a sandwich should do it! There was room for extra material on the door, so I just (partly) filled it with both rubber and wood. Not too much material though, as the door is already heavy and I don’t want to damage the hinges. The whole thing has been glued together (no nails this time, it’s aluminum!).
Now with both doors closed, you can barely hear the kick drum (unless the drummer is really hitting hard), only the bass guitar goes thru a little bit but that’s fine given the distance to other buildings. Anyway, now the weak point of soundproofing is the leak through the windows on the other side, so job done!
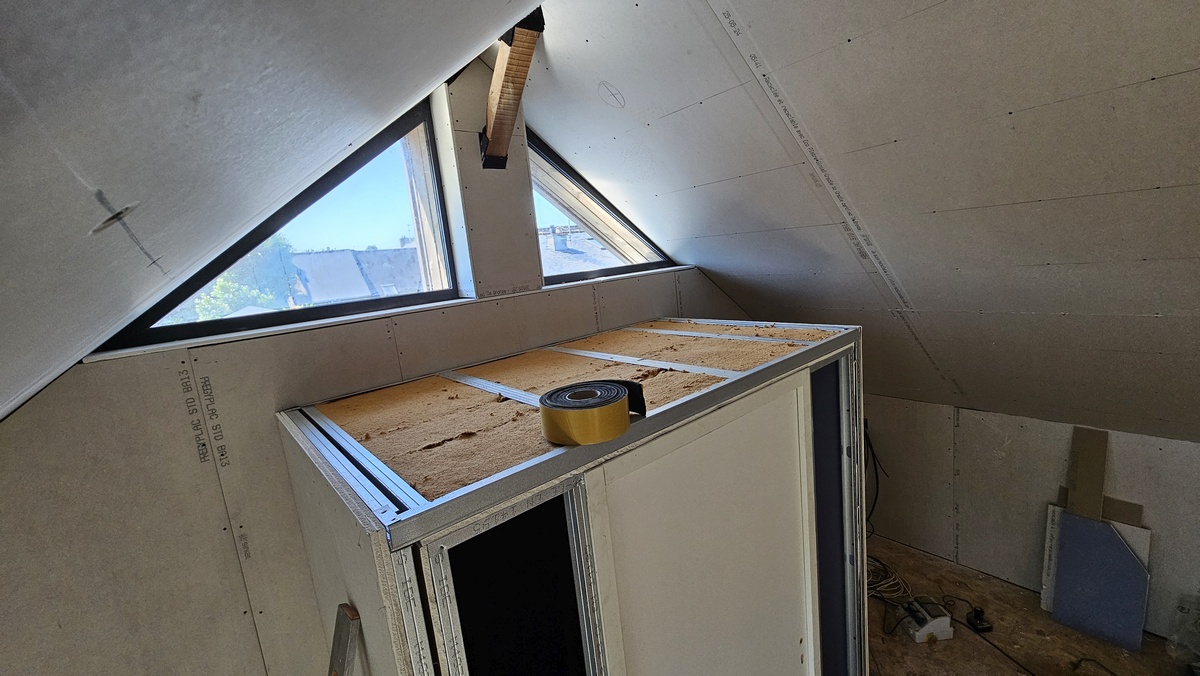
About Windows
The main windows are pretty heavy acoustic aluminum windows with double glazing and no ventilation (oh no you don’t want these leaky ventilation things on such acoustic windows, they will just leak and ruin your sound proofing efforts).
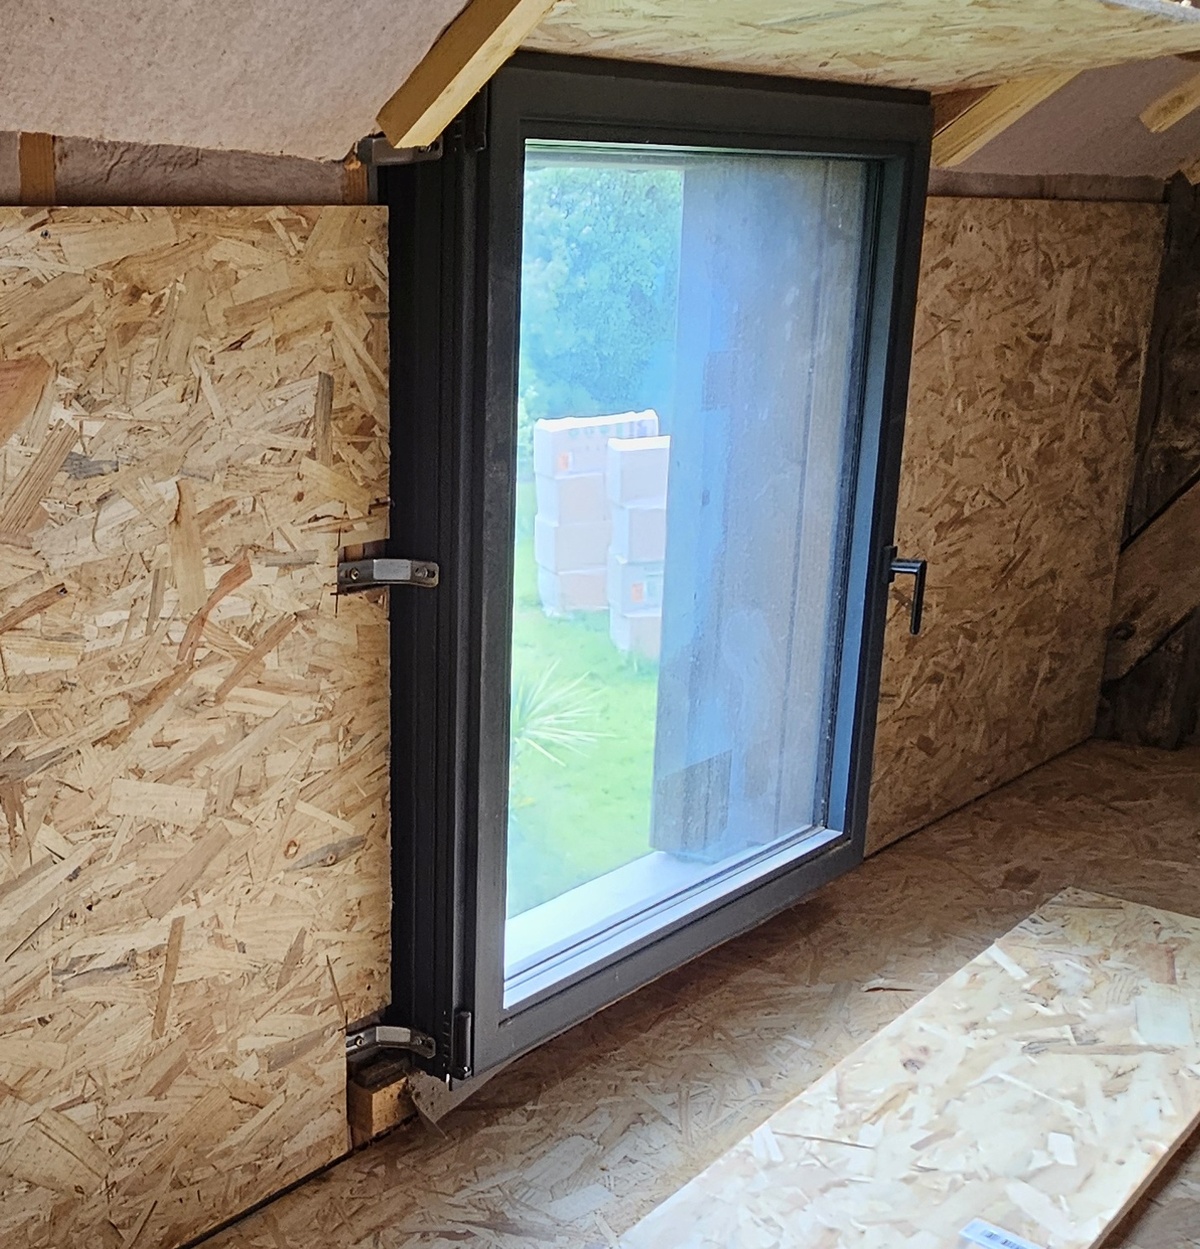
They are not bad, but definitely do not have enough absorption for a full band playing loud. However it does not matter here since they are located towards an empty area in my own property, and the sounds attenuates quite quickly with the distance. If it had been a problem though, I would have probably added another window inside the studio (there is room for that), or at least a piece of plexi sealed in the wall – but I would be concerned with aging.
Anyway, this is all about the openings in the studio. Soundproofing is now done! Next step: we’ll talk about ventilation, electricity and network.
